
DIY Balloon Arch Tutorial: Transform Your Space for Any Event


Creating a stunning balloon arch can transform any event space, whether it's for a birthday party, wedding, or corporate gathering. Not only are balloon arches visually appealing, but they also add a touch of whimsy and elegance to the occasion. In this tutorial, we'll guide you through the steps to create your own DIY balloon arch, saving you money and allowing you to customize the design to your liking.
Gather Your Materials
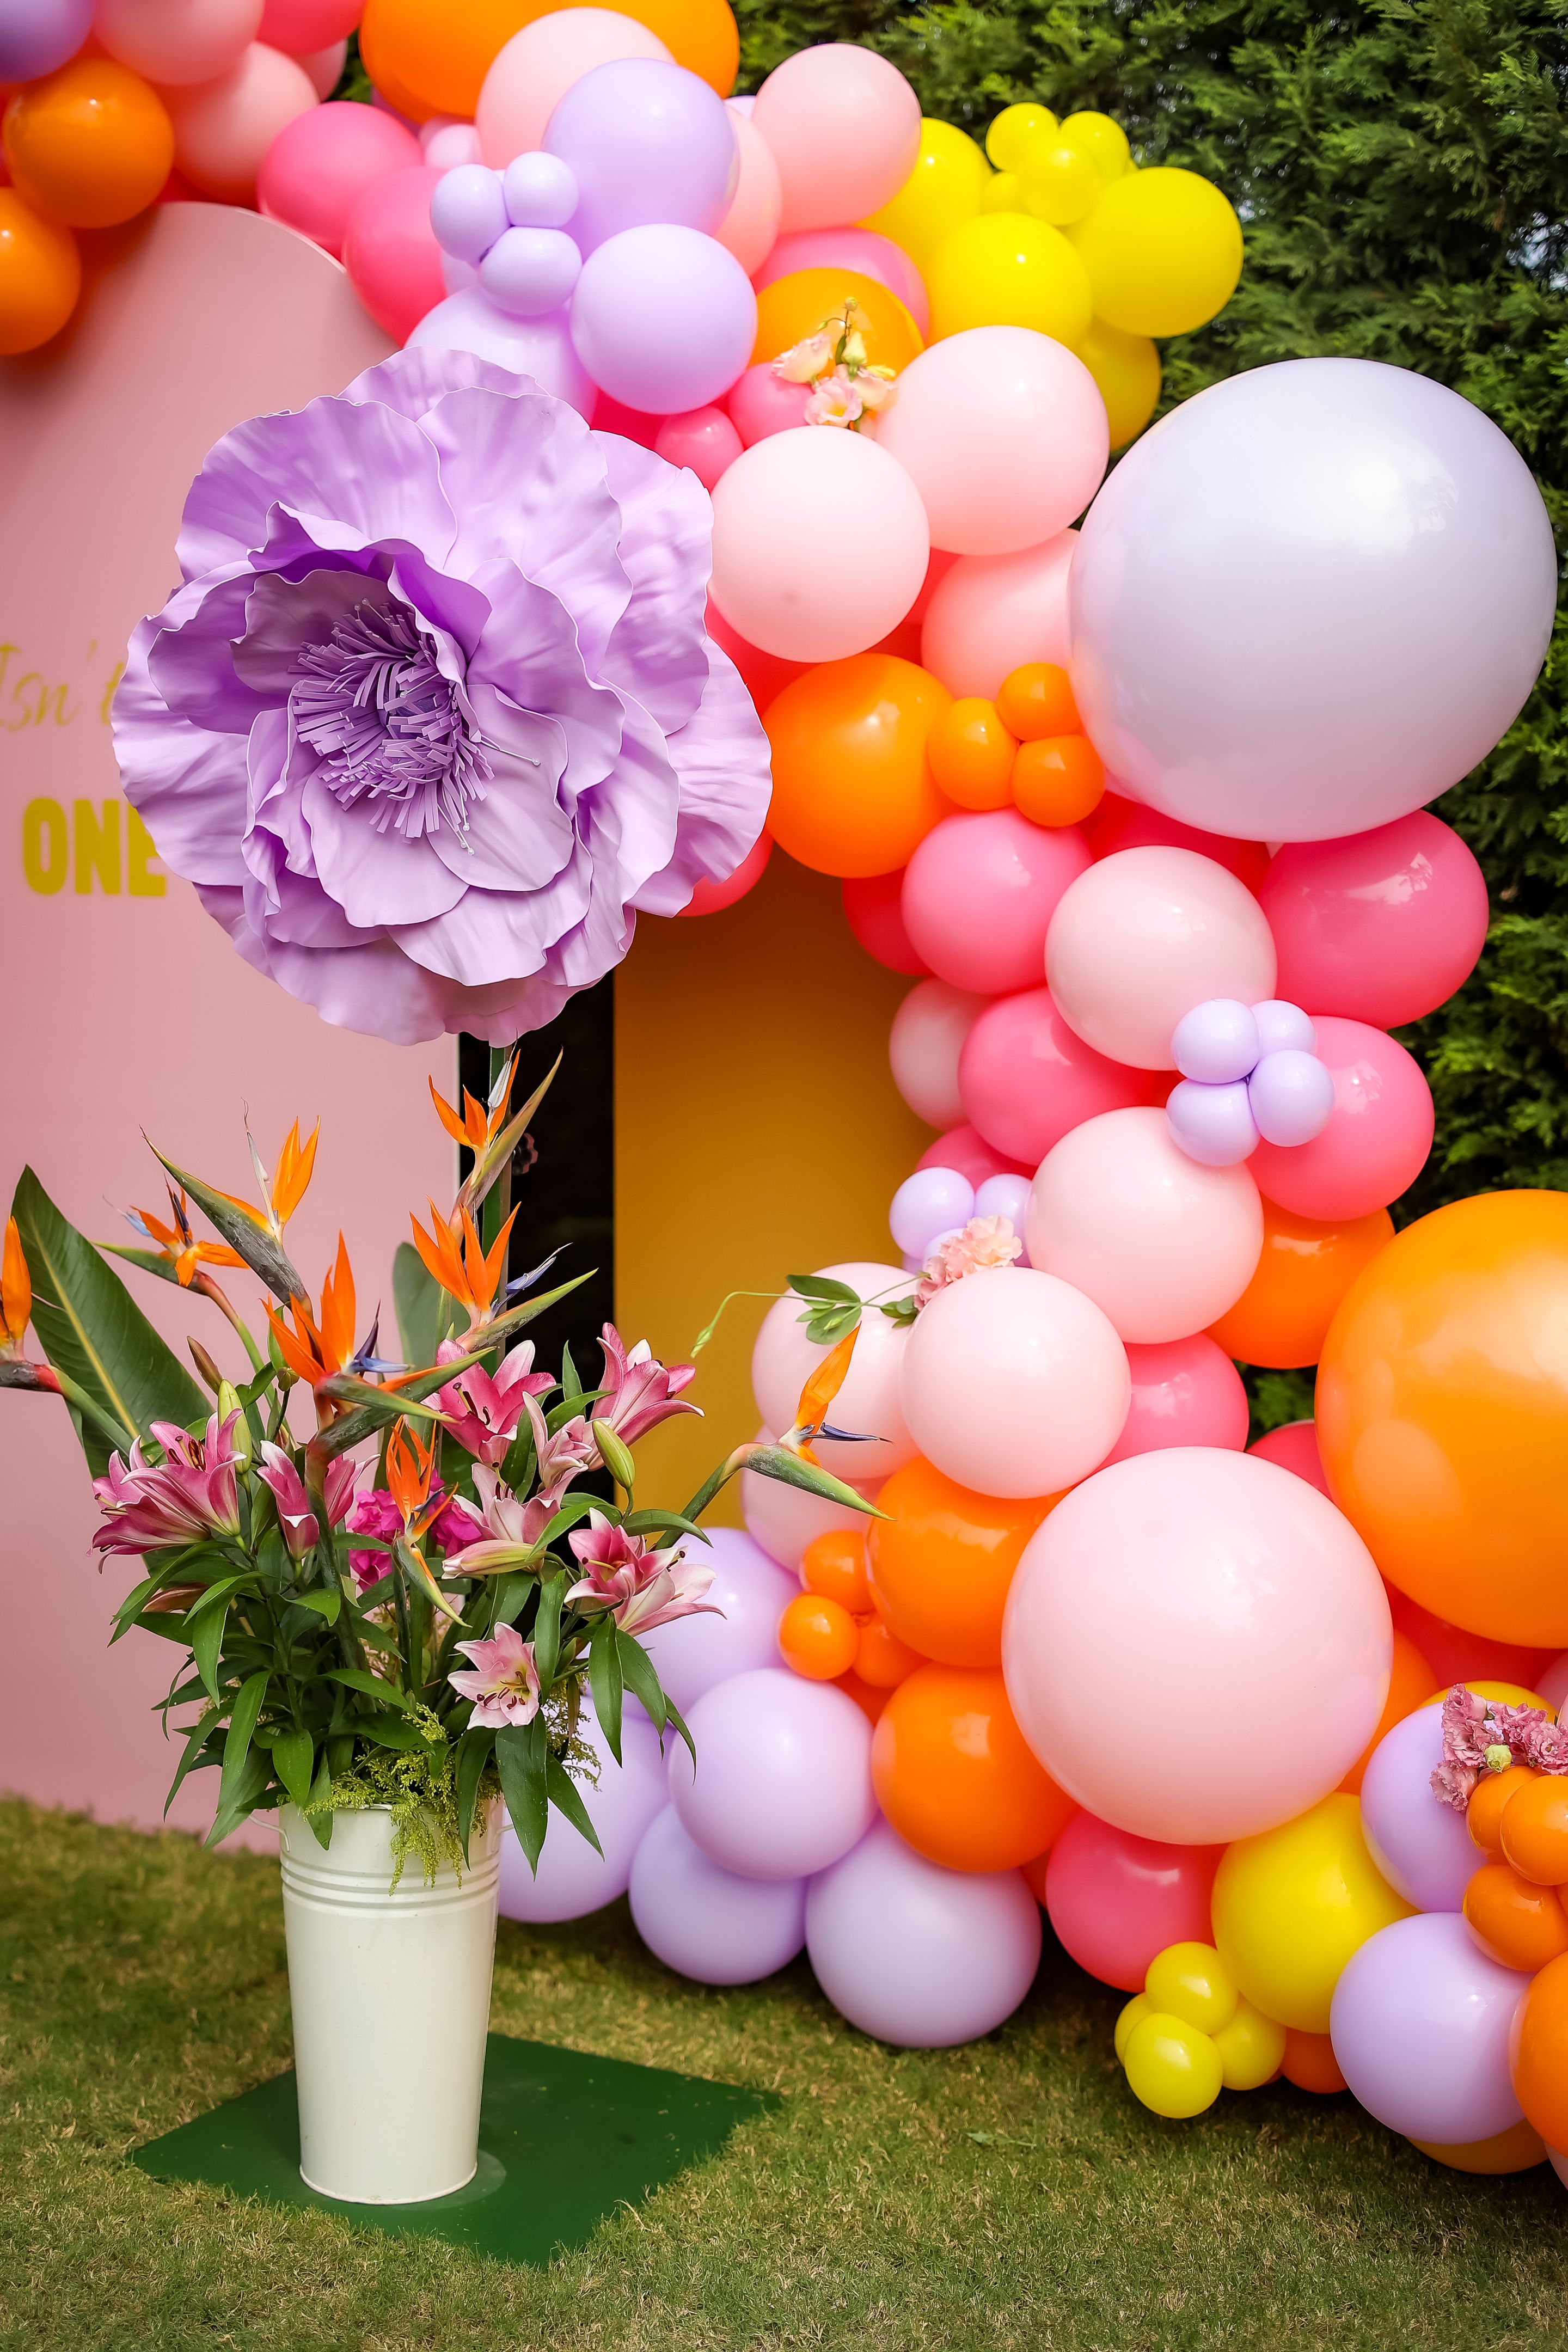
Before you start, ensure you have all the necessary materials. You'll need a variety of balloons in different colors and sizes, a balloon pump, fishing line or balloon arch strip, and command hooks or a stand to secure the arch. Optional items include greenery or flowers for added decoration.
- Balloons: Choose colors that match your event theme.
- Balloon Pump: A pump will save time and effort.
- Fishing Line or Balloon Arch Strip: This will be the structure of your arch.
- Command Hooks or Stand: To secure the arch in place.
Once you have all your materials ready, it's time to start inflating the balloons. Pro tip: Inflate balloons to different sizes to add depth and texture to your arch.
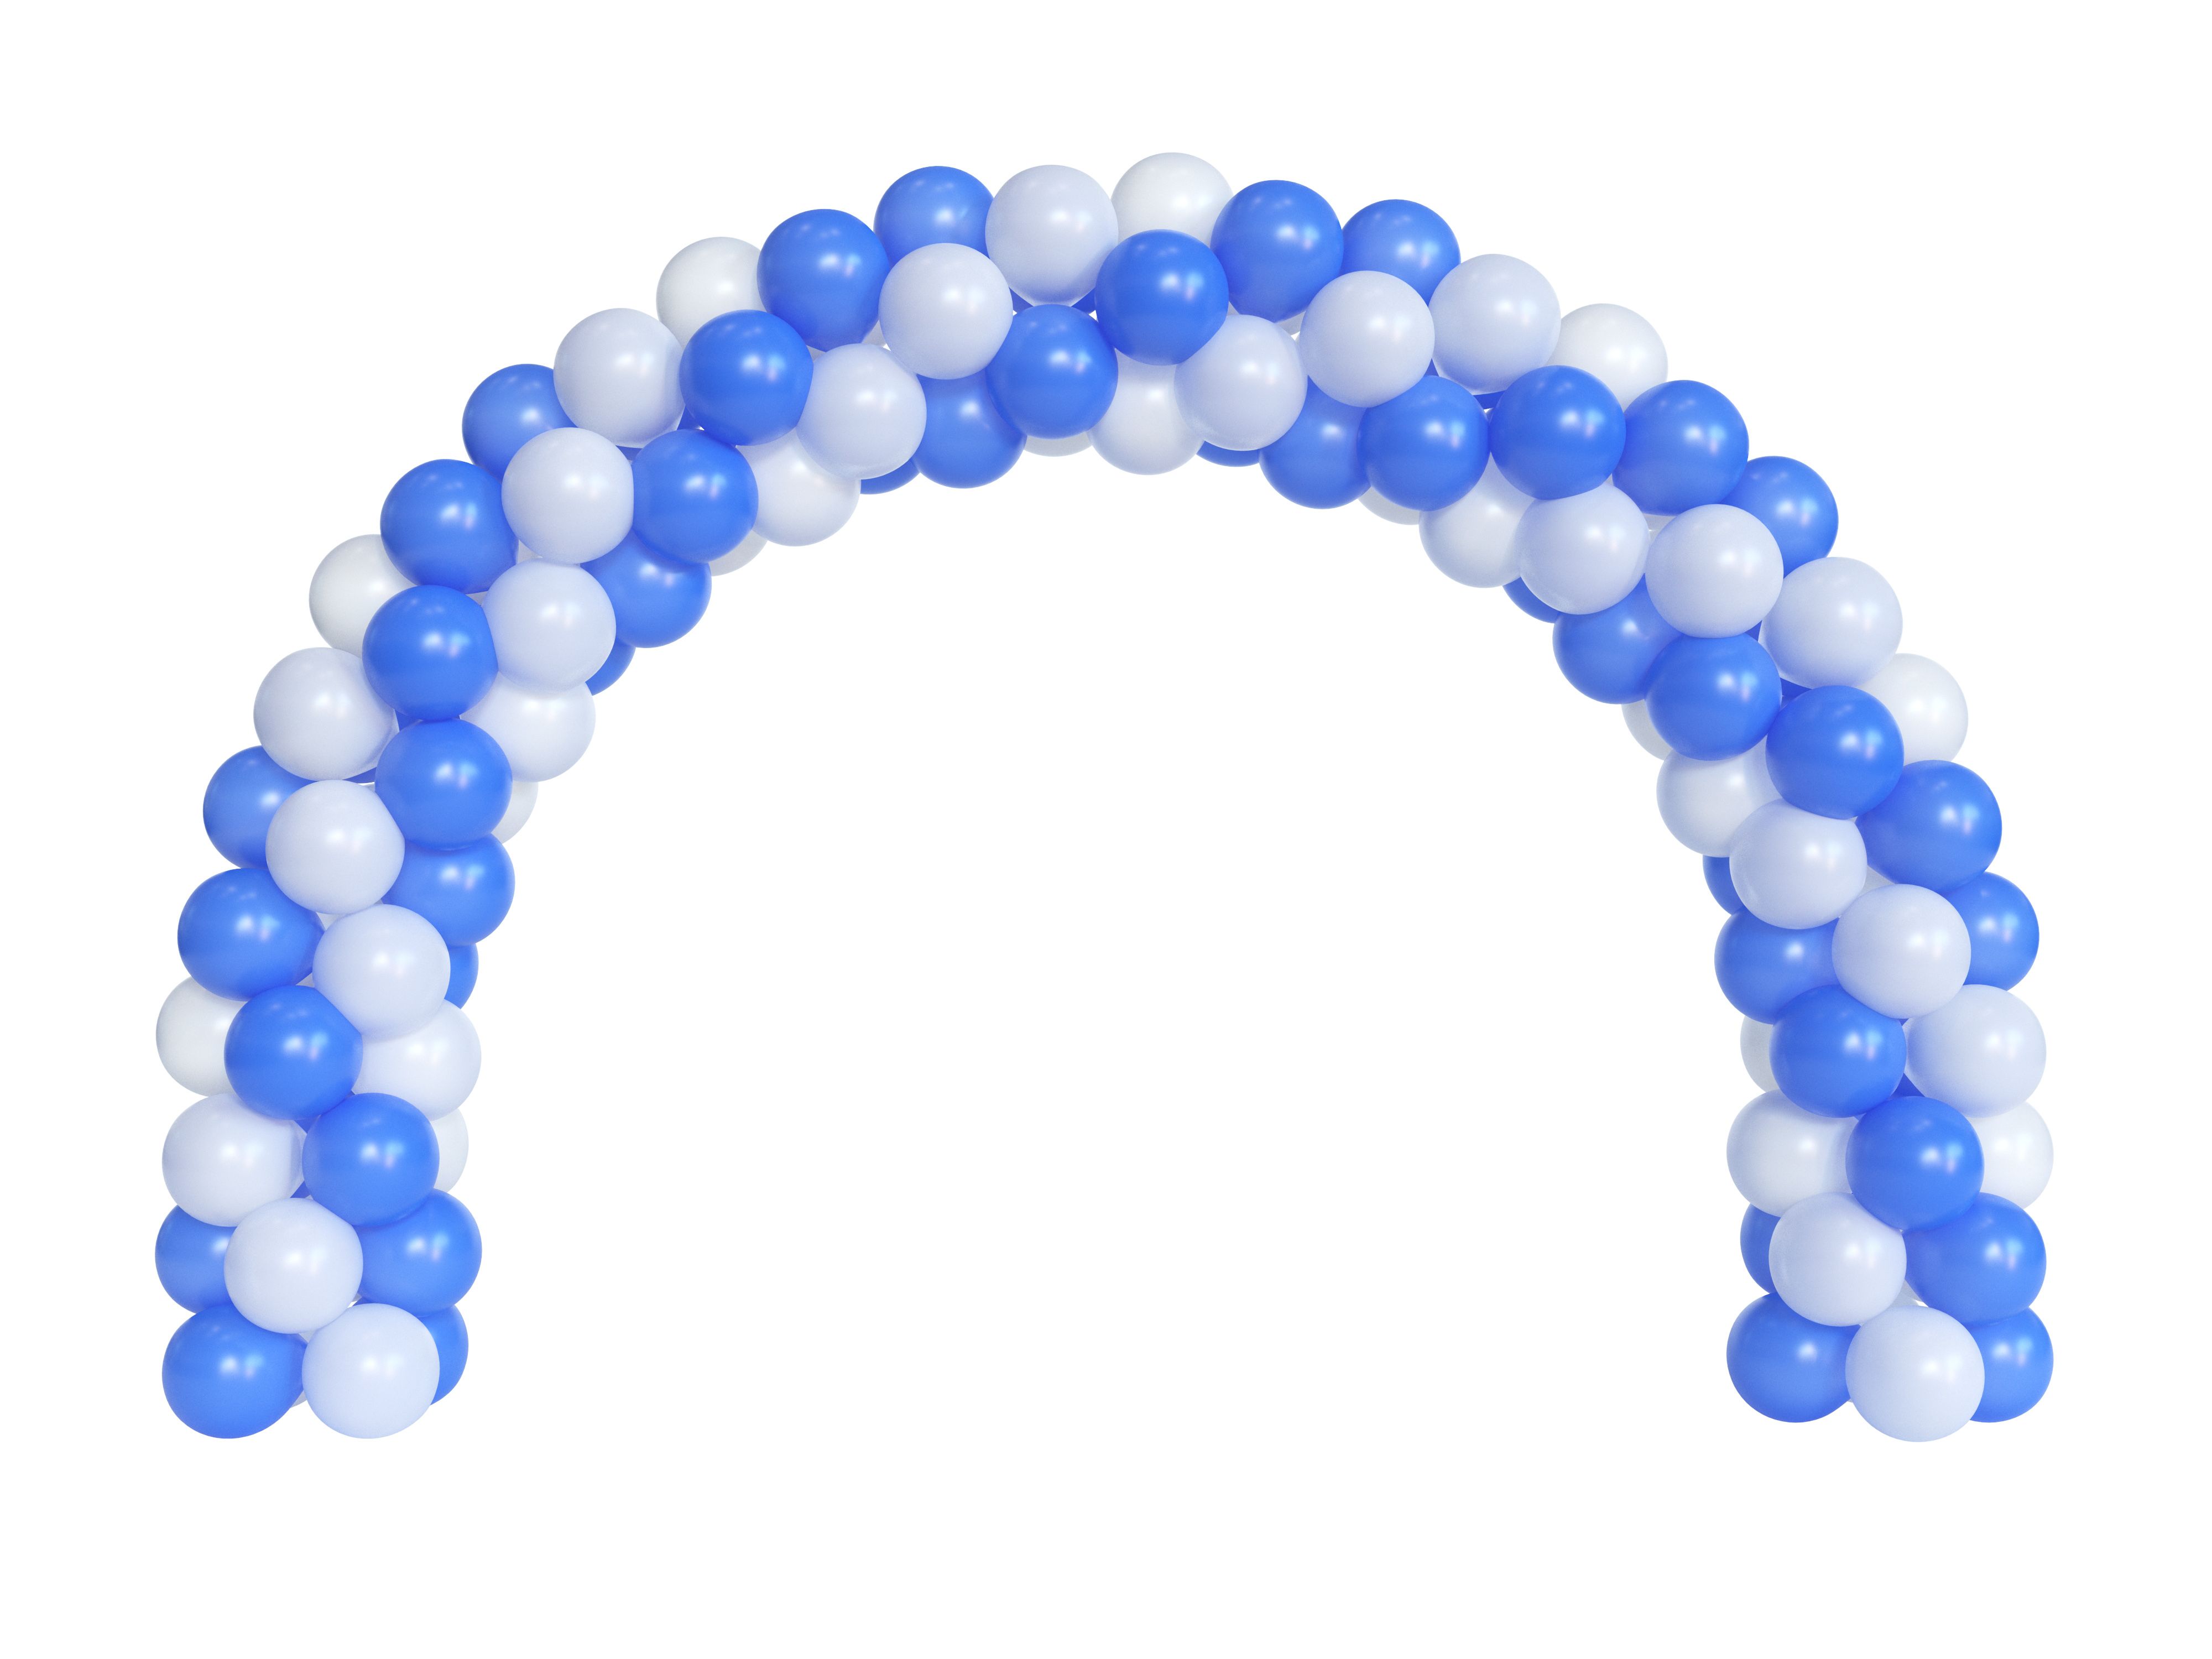
Assemble the Balloon Arch
Now that your balloons are ready, it's time to assemble the arch. If you're using a balloon arch strip, simply insert the tied ends of the balloons into the holes. Alternate colors and sizes to create a balanced look. If you're using fishing line, tie the balloons in pairs and then attach them to the line.
Creating Clusters
To make your arch look fuller, create clusters of balloons. Grouping balloons in threes or fours can add volume and make the arch more visually appealing. As you attach each cluster, ensure they are snug and secure to maintain the shape of your arch.
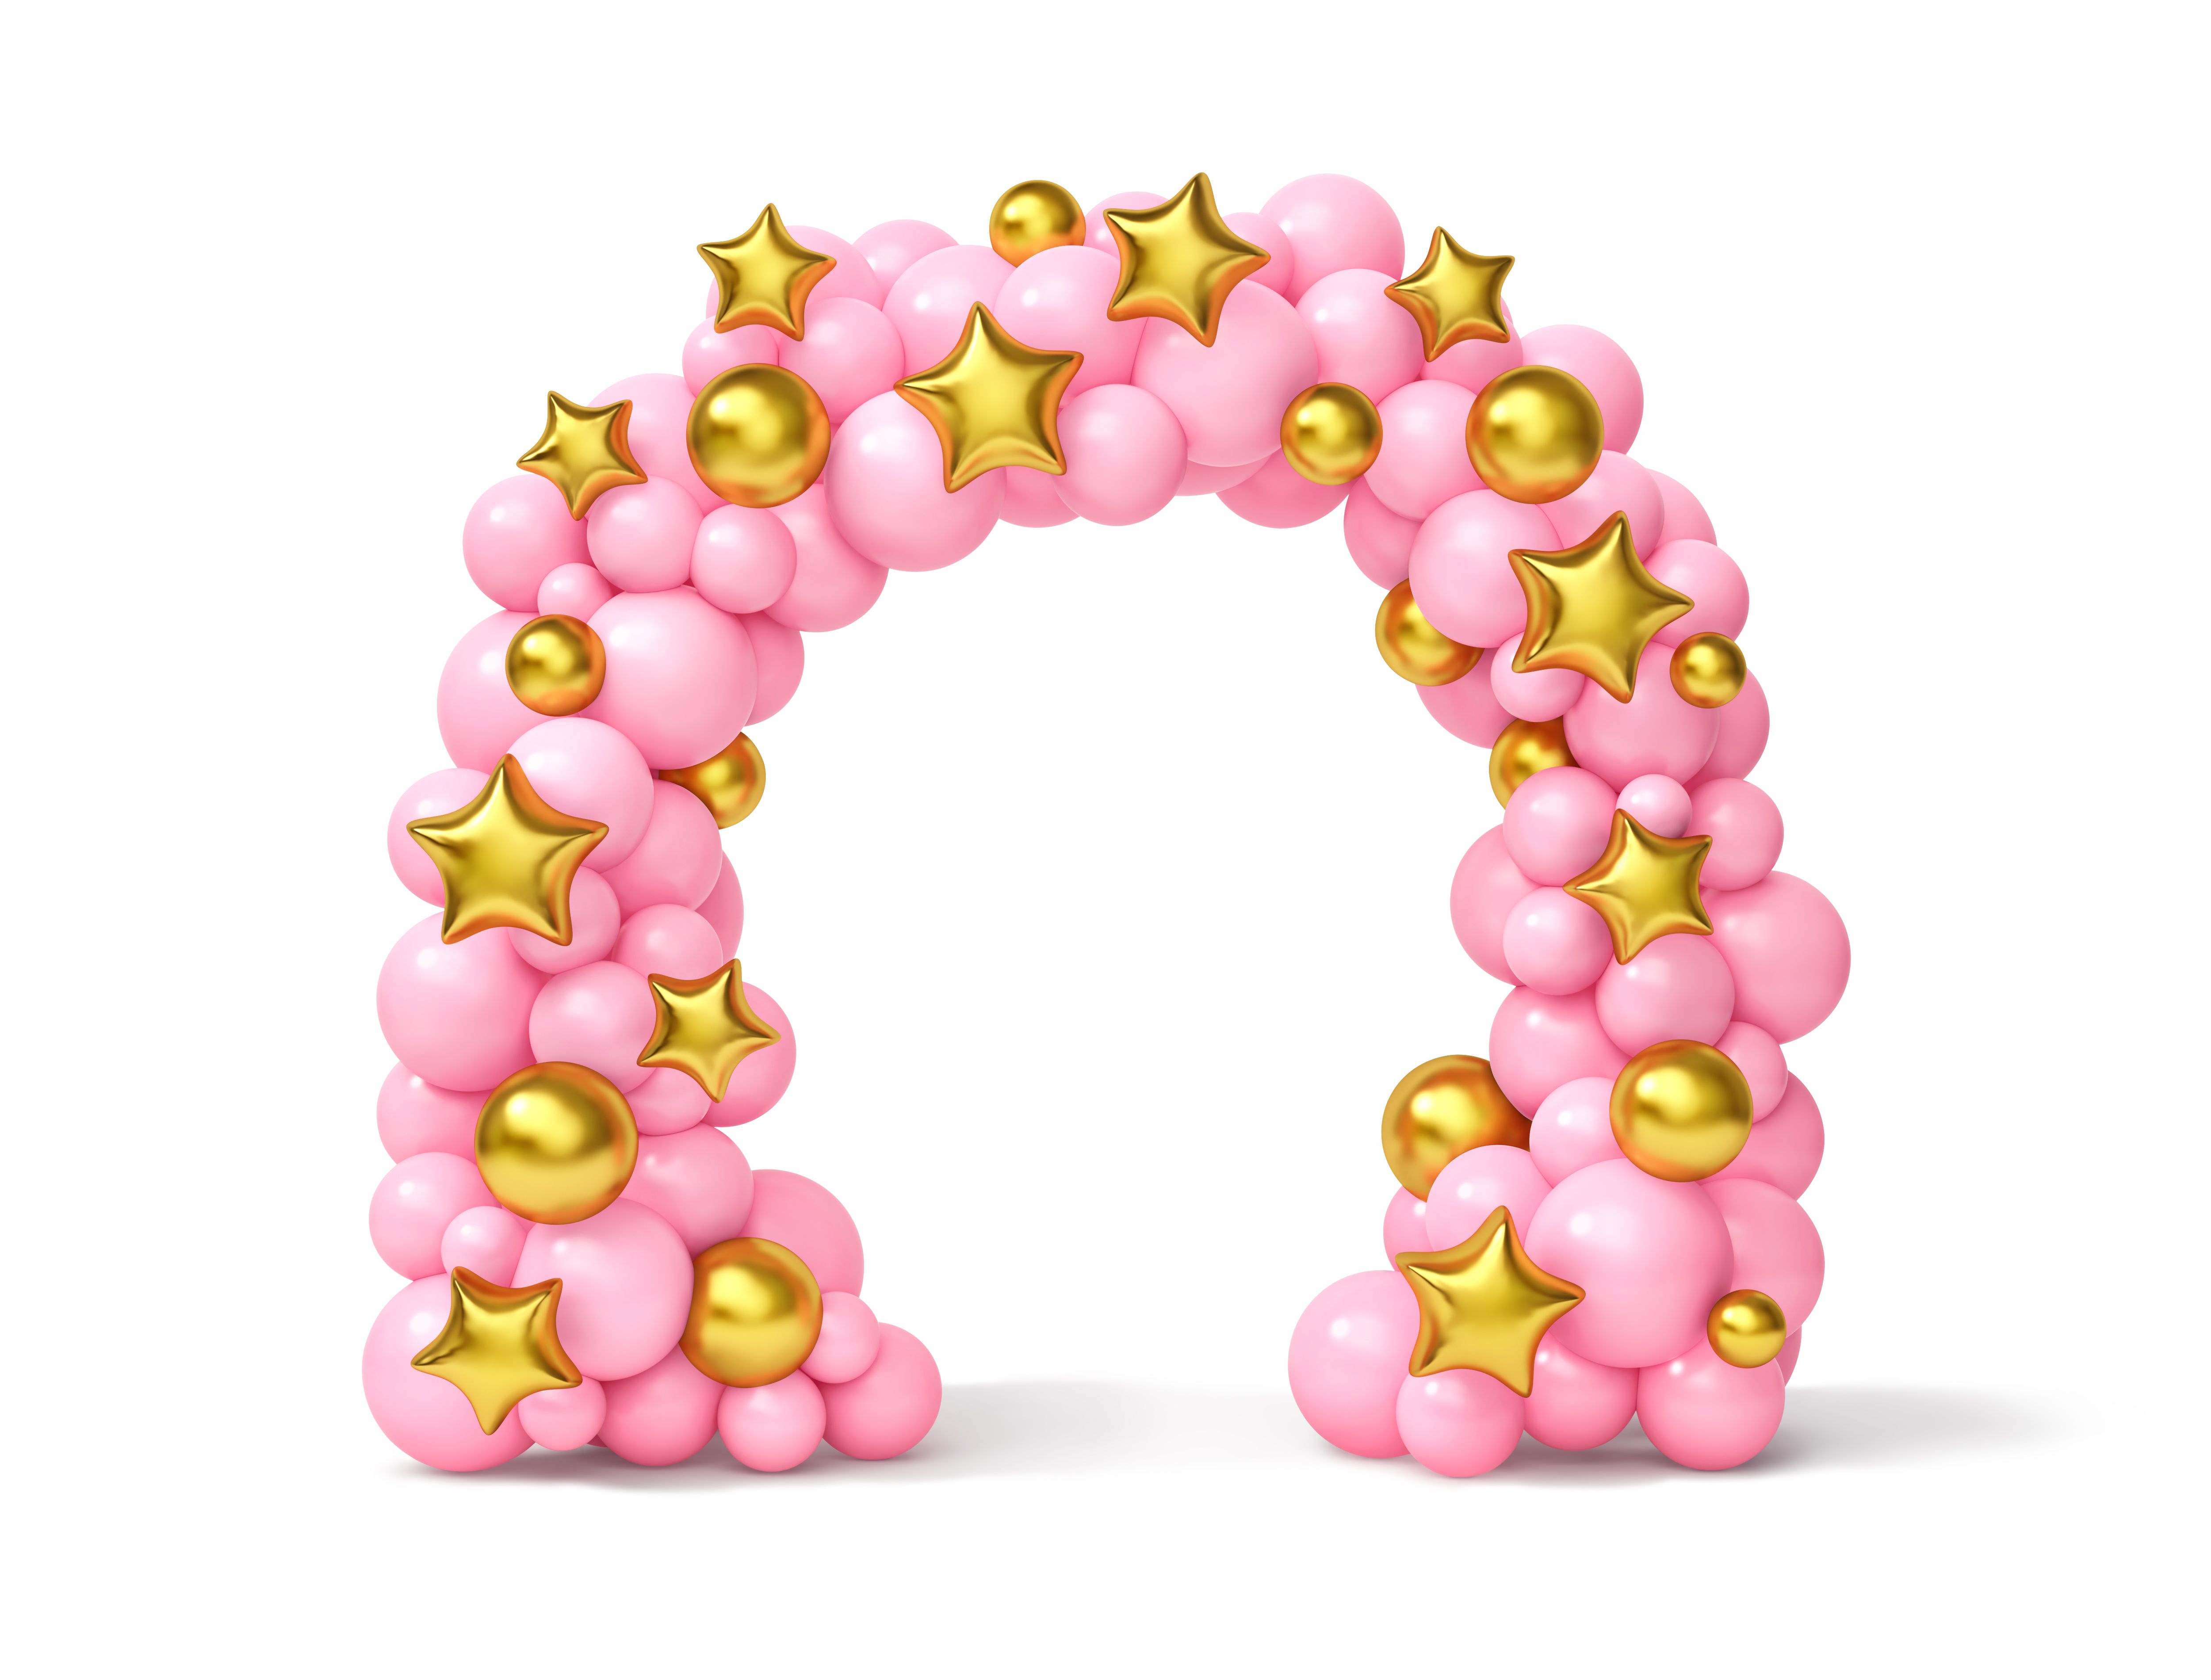
Secure and Decorate
Once your arch is assembled, it's time to secure it in place. Use command hooks if you're attaching it to a wall or doorway. If you're using a stand, ensure it's stable and won't tip over. With the arch secured, you can add additional decorations like greenery, flowers, or even LED lights.
Personalize your arch by incorporating elements that match the theme of your event. For a wedding, consider adding white flowers and greenery. For a birthday party, colorful ribbons or streamers can add a festive touch.
Final Touches and Tips
Before your event begins, step back and assess your balloon arch. Adjust any balloons that may have shifted during the setup. Ensure all balloons are securely attached and that the arch maintains its shape. If any balloons have deflated, replace them promptly.
Creating a DIY balloon arch is a fun and rewarding project that can dramatically enhance the ambiance of your event. With these simple steps, you can craft a beautiful arch that will impress your guests and provide a stunning backdrop for photos. Enjoy your event and the compliments on your handiwork!